Introduction to radon. How to test your home for Radon and action to mitigate radon.

radon-how-to-test-your-home-for-radon

Recently I had the advantage of attending one of the virtual sessions with Health Canada at the Livable Virtual Conference Canada, focused on wellness and accessibility in the design industry. The virtual session was about the education of radon and creating an awareness strategy for Canadians on radon risk and encouraging actions to reduce those risks.

What is radon?

  • Naturally occurring radioactive gas.

  • Radon is produced from the breakdown of uranium which is found in soil and rocks across the country.

  • It is colourless, tasteless and odourless.

Image courtesy- Health Canada

Image courtesy- Health Canada

Where is radon found and how can it enter your home?

Radon enters the atmosphere by moving through the pores in the soil. In outdoor air, radon levels are low as it dilutes when it comes in contact with air. But indoor radon levels can vary. The current Canadian guideline for Radon is 200 Bq/m3.

It can enter the home through a sump pump, through cracks in the foundation, between construction joints as well as through well water. Radon is soluble in water and when you turn on a tap that Radon can off-gas the air that you breathe.

Why is radon bad for our health?

  • Radon is the largest source of natural radiation exposure.

  • Radon is the number one leading cause of lung cancer for non-smokers.

Testing your home for Radon

Options for radon testing

  1. Hire a  certified radon measurement professional.

  2. Purchase a certified long term, do-it-yourself Kit by the Canadian national radon proficiency program.

In-person:  Retail hardware stores.

Online: takeactionradon.ca/test

Things to consider when purchasing a radon test kit.

  • Ideals time to start testing for Radon is during the fall and winter because your windows are closed and you see a high accumulation operated on at this time.

  • Purchase a long-term radon detector (91 days or longer because radon level fluctuates and you might get false results.

  • Radon detector should be certified by (C-NRPP)

Place the radon test kit where you spend most of your time and make sure it remains for the  91 days period and after that period of time, package it up and send it to the laboratory.

Image courtesy-Health Canada

Image courtesy-Health Canada

How to reduce the radon level in your home

  • Radon levels in your house can be lowered by hiring a certified professional to install a mitigation system.

  • Increase ventilation in the house.

  • Fix or seal radon entry points.

The most common mitigation system is called an active soil depressurize pressurization system.

A pipe is installed through the foundation floor slab. The pipe is attached to a fan that continuously runs to draw the radon from beneath the floor slab and vents the raid directly outside.

If you need more information on radon, you can go to canada.ca/radon

A certified list of vendors  can be found on takeactiononradon.ca

Want some Interior Design Inspirations and need to be on top of the latest design trends. Here are some blog posts you might like to read…

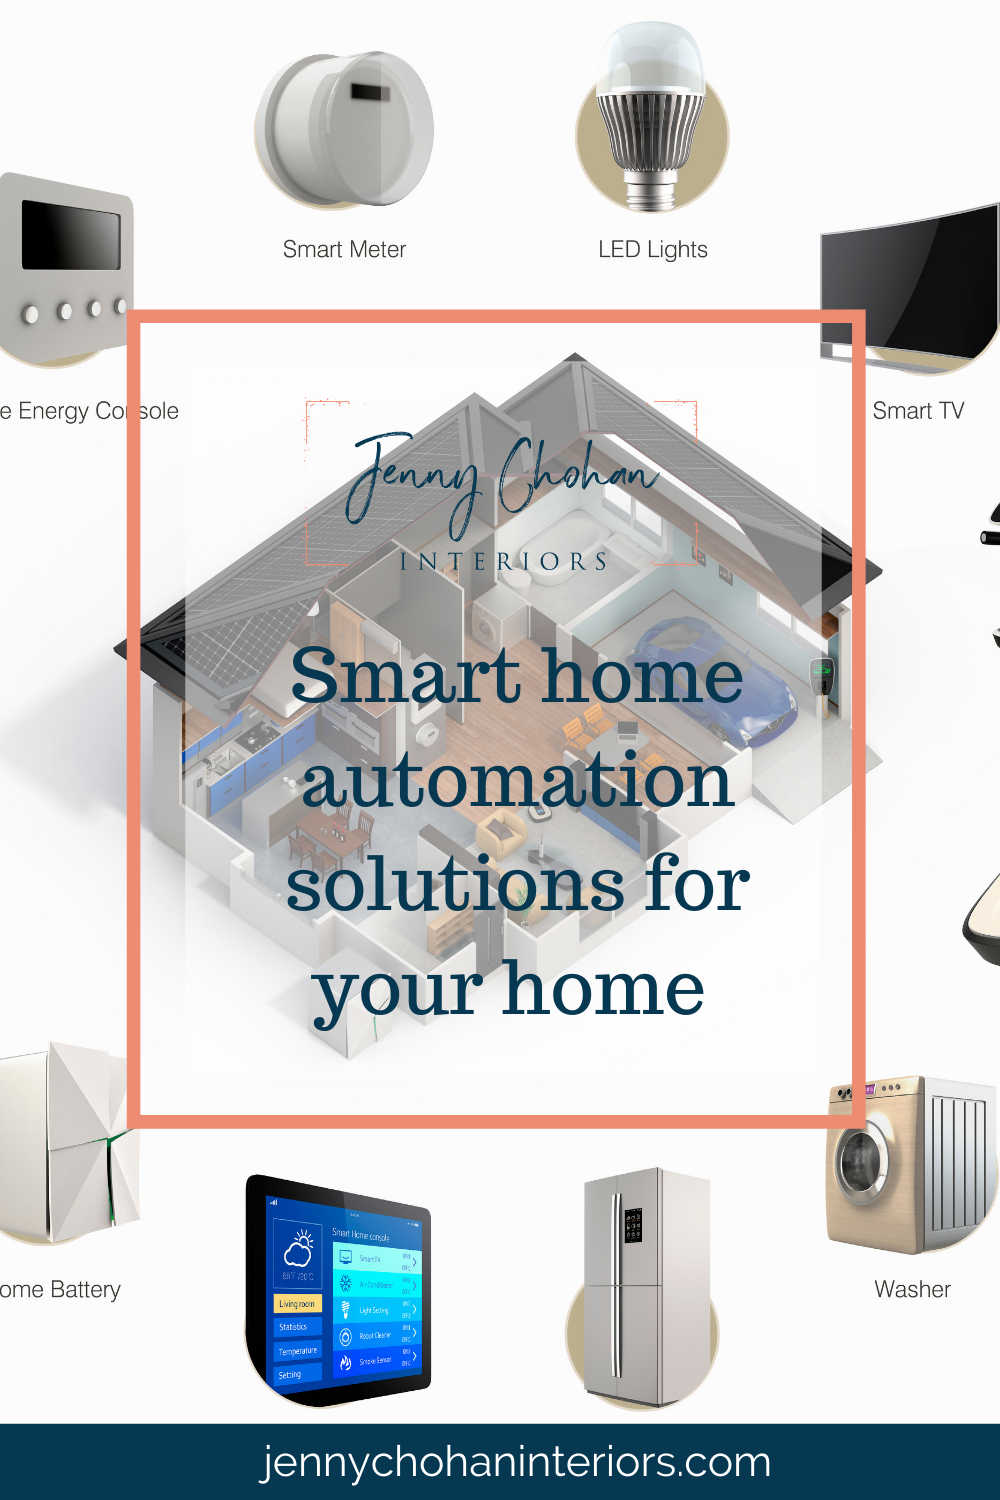
Smart home automation solutions for your home

SMART-HOME-AUTOMATION

Smart Home, the present and the future

In a recent survey, Smart home automation household penetration is to be doubled by 2022. Home automation is even very popular in new construction. Builders are adding smart home technology to the newly builds. Why? Having this home automation system installed increases the resale value of the property. And also the cost of technology is easily rolled into a mortgage.

A "Smart device" vs a "Smart home"

A smart device is any product that's connected to the internet that allows you to control and monitor it from anywhere using your smartphone, tablet or computer. A smart home is where these smart devices are aware of each other and work together.

Challenges in a modern home today

Most of these homes today have 3 to 5 electronic devices that do not integrate with each other because they are not made by the same company and have different apps on the same network which are connected to the internet but are not interconnected.  Some of the examples of some smart devices in the market today are smart media player, smart speaker, smart light bulb,  smart thermostat, smart door lock. So to solve the problem we need a uniform platform where all these devices speak to the platform.

smart-home

Home automation solutions

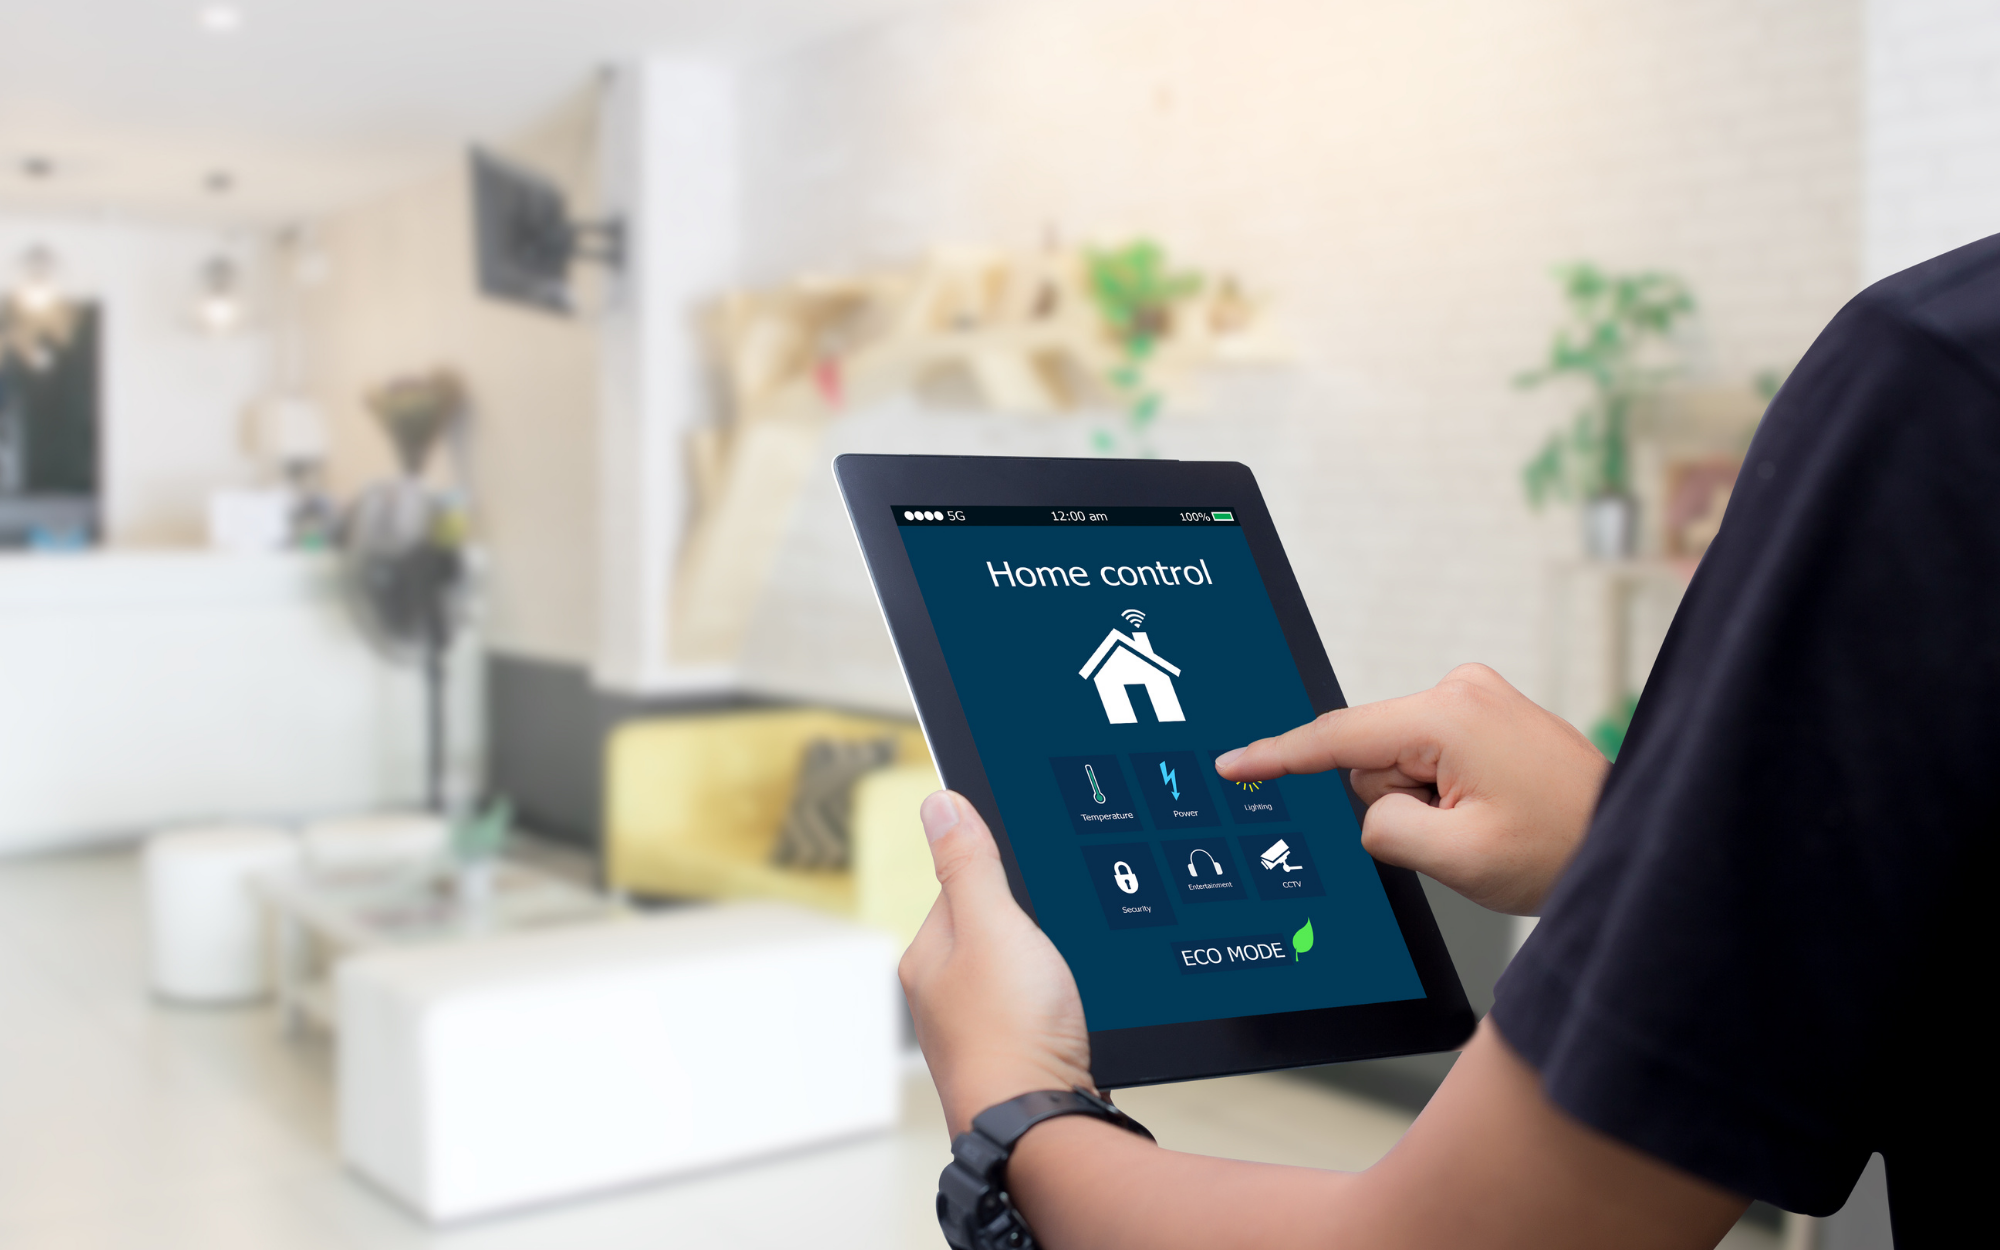
Control 4 Smart home controller coordinates and act as a Mothership to all these devices in your home to create personalized solutions that maximizes comfort, convenience, entertainment and peace of mind. With one touch you can unlock the door which will signal to the thermostat to change from Energy savings Comfort mode to regular mode, set lights based on the time of the day as well as play your favorite media.

home-automation-controllers

Why automation is more important than ever

With current times we are spending more and more time at home, which means families are more connected and want more personalization. We are investing more in our home so it's safe and functional which means usage of more smart devices.

How to make it simple? Call for a professional.

    Control 4 is a provider of automation and networking systems for your home and has local authorized dealers. It's a pleasure to introduce Robert May with SOUNDS GOOD INC. who is a local authorized dealer and installer for Control 4 located in Oakville, Ontario. If you would like to redesign and automate your home, we can set up a design consultation and collaborate with them to provide you with suggestions and solutions that best fit your needs.

   If you would like more information on Control 4 and how it can make a difference in your home. Please Contact Robert May via email rob@soundsgoodinc.ca

Want some Interior Design Inspirations and need to be on top of the latest design trends. Here are some blog posts you might like to read…
Lighting Design Trends, Techniques, and Guidelines for your Kitchen and Dining room

blog-lighting-design-trends-techiniques-guidelines-for-kitchen-dining.png

In this blog we will talk about the basic lighting design techniques and layout guidelines for choosing light fixtures for your kitchen and dining area. We will also share some safety tips and benefits of LED.

Lighting has the ability to make or break the look and feel of her home. The key to good lighting is by layering three types of Lights.

  1.  Ambient lighting

  2. Task lighting

  3. Accent lighting

    Ambient lighting is the main illumination in a room which is the overall lighting in the space. This could be a chandelier, multiple pendants, a ceiling fan with the light.

     Task lighting is the light needed for specific tasks such as cooking, reading, applying makeup. Examples are  recessed lights, sconces next to a dressing area.

    Accent lighting could be a toe-kick or in-cabinet lights, cove lighting or small portable lamps. These lights add drama to the space. Use recessed ceiling fixtures that could direct towards the wall or picture lights that mount to the wall.

Many different lighting techniques can be used to set the mood in a specific area. It can also be used to create effects, place emphasis on focal points or can be washed over a wall to create a uniform appearance.

PHOTO CREDIT: CREATV EIGHT

PHOTO CREDIT: CREATV EIGHT

Specifying lighting layout guidelines for kitchens

  • Add under cabinet lights to highlight the backsplash and add a layer of task lighting.

  • Add toe kick lighting to provide lighting in unusual areas.

  • A decorative pendant can be added over the sink.

PHOTO CREDIT: SIDEKIX MEDIA

PHOTO CREDIT: SIDEKIX MEDIA

Lighting guideline for an island

  • Pendants can be installed starting from 12 inches to 15 inches in from either end of the island and then space the pendants evenly within that span.

  • Space pendants around 24 inches to 30 inches apart from one another.

  • Keep 30 inches to 36 inches of space between the countertop and fixtures.

DINING ROOM - 3D RENDERING

DINING ROOM - 3D RENDERING

Sizing guidelines of a chandelier in a dining room

  • The diameter should be 12 inches smaller than the table width.

  • Hang between 27 to 36 inches above the surface of a dining table.

  • The height from the fixture to the ceiling should be at a minimum of 18 inches.

Sizing guidelines for 2 or more pendants in a dining room

  • Spacing should be 30 inches apart.

  • Hang  62 inches to 66 inches above the floor or 30 inches about the table.

Kitchen lighting safety tips

  • Use LED whenever possible to avoid frequent light bulb changing and therefore ladder use.

  • Use under cabinet lighting at toe-kicks to light walkways.

  • Place switches and dimmers near the kitchen entrance.

  • Avoid using shiny surfaces near light sources.

PHOTO CREDIT : CALLUM HILL

PHOTO CREDIT : CALLUM HILL

The future Trend in lighting is Led. Why?

  • They have longer life ratings.

  • They are energy efficient and come in a compact size with beautiful profile fixtures.

  • LEDs are compatible with dimming control which will result in producing less heat.

That’s all folks! This blog is meant for you to gain more in depth knowledge about lighting.

You might like these decorating posts…

How to mix decorating styles Together to create a curated look

How-to-mix-decorating-styles-together

Do you know your decorating style? Most of us have more than one style. Let’s talk about how you can mix your decorating styles together to make your home look cohesive.

Transitional-style-coastal-accessories-master-bedroom

The secret of mixing two styles is to follow the 80/20 rule. Choose one of your styles to be 80 percent in a room or space and 20 percent can be the other style. The classic was to choose 80 percent in larger pieces and let the 20 percent be the accessories in the space.

blue-accent-wall-accent-chairs

Choose 3 to 4 colours while picking a colour palette and stick to it. This will help in achieving a cohesive space. Another key element to mixing styles is to choose accents and furniture pieces throughout the space to achieve a balanced look.

Transitional-style-master-bedroom

This bedroom is an example of mixing transitional style with coastal style. So we have the larger furniture pieces like a bed, nightstands, dresser and accent chairs in a transitional style and mixed up accent pieces like sisal rug, glass base table lamps and greenery through plants and vases and artwork in coastal style.

white-dresser-with-mirror

Lastly, let's not forget about pillows. Pillows are one of the major decor pieces to bridge the gap and help us make a connection with space as soon as we come into the room! So choose them wisely.

In summary, it's just a little bit of planning but in the end, will all come together.

Want some Interior Design Inspirations and need to be on top of the latest design trends. Here are some blog posts you might like to read…

Brickhill Loft Project Reveal - Designing A Minimalist Family Area From Scratch

_BLOG POST COVERS-loft.png

This newly constructed home wanted to go the Minimalist route. Our clients are a young family of four in the USA and were about to move into a new home. They hired us to design their loft into a family area where she will be spending most of the time with her little ones. She wanted this space to have an uncluttered and cozy look. 

 The requirements for the loft were as follows:

  • The media console is a must.

  • Reuse the existing sectional for space.

  • Storage for kid’s toys and board games.

We created two options for 3d floor plans and presented them after a week. 

Option# 1

Option# 1

 
Option # 2

Option # 2

They decided to go with option # 1. This floor plan layout has a media console on the bedroom wall.( T.V. cable is located here) We anchored the floor with a beautiful abstract modern rug and placed the existing sectional on it with a couple of accent chairs and a coffee table. This option also has a console in front of the window for extra storage.

Later we proposed furnishings options and collaborated on Pinterest. Once they selected the furnishings we presented them a concept board.

Concept Board

Concept Board

 
Concept-Board-pottery-barn-kids-storage

We also created 3D renderings. With these renderings we could really help convey the design concepts for the space.

3D Rendering

3D Rendering

3D Rendering

3D Rendering

3D Rendering

3D Rendering

Dollhouse View

Dollhouse View

Our clients choose to go with the pottery barn kids storage which fits perfectly with their needs. Next we some kids artwork above this storage unit to draw eyes up as the ceilings were quite high. To make the loft area look cozy we went with drapes and added table lamps and floor lamps in the space. They also decided to go with displaying artwork on the wall next to the console to give the loft space not just for the kids to hang out but also a family area. Our clients were very happy with the end result.

 Feeling inspired? Let us help you with your interior design projects. Based on our online/ E-design service, we provide multiple layout options, concept boards, and furnishings that fit your style and budget.

Want some Interior Design Inspirations and need to be on top of the latest design trends. Here are some blog posts you might like to read…